Difference between revisions of "Echo360-classroom-ad-hoc"
(→Creating an Ad-hoc Capture with Echo360) |
(→Creating an Ad-hoc Capture with Echo360) |
||
| Line 3: | Line 3: | ||
Here's how to control the start and stop time of a classroom lecture capture. | Here's how to control the start and stop time of a classroom lecture capture. | ||
| − | |||
| − | |||
| − | |||
| − | |||
| − | |||
| − | |||
| − | |||
| − | |||
| − | |||
| − | |||
| − | |||
| − | |||
| − | |||
| − | |||
| − | |||
| − | |||
| − | |||
| − | |||
| − | |||
| − | |||
| − | |||
| − | |||
| − | |||
| − | |||
| − | |||
| − | |||
| − | |||
| − | |||
| Line 38: | Line 10: | ||
| − | + | You will be taken to WPI's authentication system. | |
| − | |||
| − | |||
| − | |||
| − | |||
| − | |||
| − | |||
[[File:local-login.png|450x300px|border|Ad-hoc1]] | [[File:local-login.png|450x300px|border|Ad-hoc1]] | ||
Latest revision as of 10:58, 28 March 2019
Creating an Ad-hoc Capture with Echo360
Here's how to control the start and stop time of a classroom lecture capture.
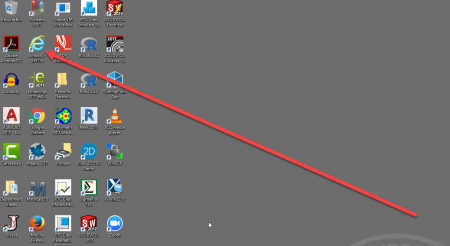
On the classroom computer, click on icon on the desktop that says "Echo360" and the room number.
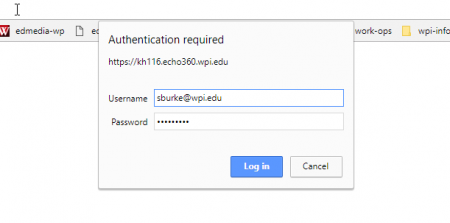
You will be taken to WPI's authentication system.
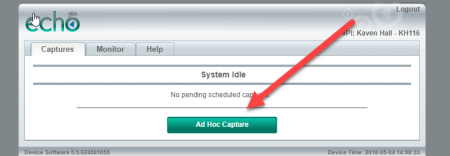
Once you've logged in, click on the green ad-hoc capture button.
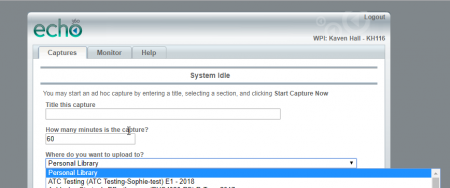
This brings you to a form in which you can describe your capture and also designate where you want it to go after you've recorded it.
The above form is actually the reason why you need to login with your local Echo360 username and password.
Unless you login with those credentials, you won't be able to designate a destination for the video.
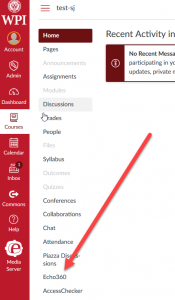
Choosing the relevant course will send the video to your Canvas site, like below.
Once you've chosen your course, click "Start ad-hoc capture".
You'll see a countdown.
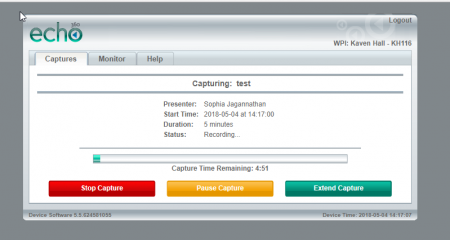
And then you'll see a recording screen like the one below.
If you have any questions, please email edmedia@wpi.edu or call the ATC at xt. 5220 for help.
Happy capturing!
